原文链接:https://blog.csdn.net/m0_60657960/article/details/143209851
参考链接:https://blog.csdn.net/Fzq1021/article/details/133508218
1 PC电脑是Ubuntu22.04系统中完成环境搭建(板子是20.04)
安装模型转换环境
conda create -n rknn2 python==3.10
conda activate rknn2
安装Ubuntu依赖包
sudo apt-get install libxslt1-dev zlib1g zlib1g-dev libglib2.0-0 libsm6 libgl1-mesa-glx libprotobuf-dev gcc g++
安装RKNNtoolkit2,RKNNtoolkit2的作用是将onnx模型转为rknn模型
pip install numpy==1.19.4 --only-binary=:all: -i https://pypi.tuna.tsinghua.edu.cn/simple
git clone https://github.com/rockchip-linux/rknn-toolkit2
安装 python3.9版本对应的 RKNN-Toolkit2(看清楚python版本在安装)
cd rknn-toolkit2/rknn-toolkit2/packages/
pip install -r requirements_cp39-1.6.0.txt -i https://pypi.mirrors.ustc.edu.cn/simple
pip install rknn_toolkit2-1.6.0+81f21f4d-cp39-cp39-linux_x86_64.whl -i https://pypi.tuna.tsinghua.edu.cn/simple
如果是python3.10版本
pip install rknn_toolkit2-2.2.0-cp310-cp310-manylinux_2_17_x86_64.manylinux2014_x86_64.whl -i https://pypi.tuna.tsinghua.edu.cn/simple
可能会报错
This behaviour is the source of the following dependency conflicts.
tensorboard 2.10.1 requires protobuf<3.20,>=3.9.2, but you have protobuf 3.20.3 which is incompatible.
tensorflow 2.10.0 requires protobuf<3.20,>=3.9.2, but you have protobuf 3.20.3 which is incompatible.
解决:
pip install tensorboard==2.15.2 -i https://pypi.tuna.tsinghua.edu.cn/simple pip install tensorflow==2.15.1 -i https://pypi.tuna.tsinghua.edu.cn/simple
2 PC 端安装 Paddle2ONNX
安装paddle2onnx
这一步为下面模型转换做打算:
paddle2onnx的作用:
paddle模型------>onnx模型
RKNNtoolkit2的作用:
onnx模型------>rknn模型
安装paddle2onnx的过程极为简单,在终端输入:
pip install paddle2onnx -i https://pypi.tuna.tsinghua.edu.cn/simple
至此,ubuntu上面的环境已经搭建完毕。
3 在板子上完成环境搭建
FastDeploy库的编译(在rk3588板子上进行)
rk3588性能强劲,可以直接在板子上借助图形界面编译FastDeploy库(官网)

下载代码并编译
git clone https://github.com/PaddlePaddle/FastDeploy.git
sudo apt-get update
sudo apt-get install cmake
cd FastDeploy
mkdir build && cd build
cmake .. -DENABLE_ORT_BACKEND=OFF \
-DENABLE_RKNPU2_BACKEND=ON \
-DENABLE_VISION=ON \
-DRKNN2_TARGET_SOC=RK3588 \
-DCMAKE_INSTALL_PREFIX=${PWD}/fastdeploy-0.0.0
make -j4
make install
4 配置环境变量
为了方便大家配置环境变量,FastDeploy提供了一键配置环境变量的脚本,在运行程序前,你需要执行以下命令:
临时配置:
source /home/orangepi/work_11.7/FastDeploy/build/fastdeploy-0.0.0/fastdeploy_init.sh
永久配置
source /home/orangepi/work_11.7/FastDeploy/build/fastdeploy-0.0.0/fastdeploy_init.sh
sudo cp /home/orangepi/work_11.7/FastDeploy/build/fastdeploy-0.0.0/fastdeploy_libs.conf /etc/ld.so.conf.d/
sudo ldconfig
5 模型安装(在PC)
3个Paddle的模型:
#新建一个文件夹
mkdir ppocr
cd ppocr
# 下载PP-OCRv4文字检测模型
wget https://paddleocr.bj.bcebos.com/PP-OCRv4/chinese/ch_PP-OCRv4_det_infer.tar
tar -xvf ch_PP-OCRv4_det_infer.tar
# 下载文字方向分类器模型
wget https://paddleocr.bj.bcebos.com/dygraph_v2.0/ch/ch_ppocr_mobile_v2.0_cls_infer.tar
tar -xvf ch_ppocr_mobile_v2.0_cls_infer.tar
# 下载PP-OCRv4文字识别模型
wget https://paddleocr.bj.bcebos.com/PP-OCRv4/chinese/ch_PP-OCRv4_rec_infer.tar
上面操作结束后会得到三个装有paddle模型的文件夹,随即进入paddle----onnx模型步骤
新的转onnx命令:
paddle2onnx --model_dir ch_PP-OCRv4_det_infer \
            --model_filename inference.pdmodel \
            --params_filename inference.pdiparams \
            --save_file det4.onnx

paddle2onnx --model_dir ch_ppocr_mobile_v2.0_cls_infer \
            --model_filename inference.pdmodel \
            --params_filename inference.pdiparams \
            --save_file cls2.onnx

paddle2onnx --model_dir ch_PP-OCRv4_rec_infer \
            --model_filename inference.pdmodel \
            --params_filename inference.pdiparams \
            --save_file rec4.onnx
然后固定onnx模型的形状:
这里需要注意的是,根据ubuntu系统上python版本的不同,python指令可能会替换为python3
python3 -m paddle2onnx.optimize --input_model cls2.onnx \
                               --output_model cls2_shape.onnx \
                               --input_shape_dict "{'x':[1,3,48,192]}"

python3 -m paddle2onnx.optimize --input_model rec4.onnx \
                               --output_model rec4_shape.onnx \
                               --input_shape_dict "{'x':[1,3,48,320]}"

python3 -m paddle2onnx.optimize --input_model det4.onnx \
                               --output_model det4_shape.onnx \
                               --input_shape_dict "{'x':[1,3,960,960]}"
老版本:
# 固定模型的输入shape
python -m paddle2onnx.optimize --input_model ch_PP-OCRv3_det_infer/ch_PP-OCRv3_det_infer.onnx \
                               --output_model ch_PP-OCRv3_det_infer/ch_PP-OCRv3_det_infer.onnx \
                               --input_shape_dict "{'x':[1,3,960,960]}"

python -m paddle2onnx.optimize --input_model ch_ppocr_mobile_v2.0_cls_infer/ch_ppocr_mobile_v2.0_cls_infer.onnx \
                               --output_model ch_ppocr_mobile_v2.0_cls_infer/ch_ppocr_mobile_v2.0_cls_infer.onnx \
                               --input_shape_dict "{'x':[1,3,48,192]}"

python -m paddle2onnx.optimize --input_model ch_PP-OCRv3_rec_infer/ch_PP-OCRv3_rec_infer.onnx \
                               --output_model ch_PP-OCRv3_rec_infer/ch_PP-OCRv3_rec_infer.onnx \
                               --input_shape_dict "{'x':[1,3,48,320]}


python3 -m paddle2onnx.optimize --input_model ch_ppocr_mobile_v2.0_cls_infer/ch_ppocr_mobile_v2.0_cls_infer.onnx \
--output_model ch_ppocr_mobile_v2.0_cls_infer/ch_ppocr_mobile_v2.0_cls_infer.onnx \
--input_shape_dict "{'x':[1,3,48,192]}"

python3 -m paddle2onnx.optimize --input_model ch_PP-OCRv3_rec_infer/ch_PP-OCRv3_rec_infer.onnx \
--output_model ch_PP-OCRv3_rec_infer/ch_PP-OCRv3_rec_infer.onnx \
--input_shape_dict "{'x':[1,3,48,320]}"

python3 -m paddle2onnx.optimize --input_model ch_PP-OCRv3_det_infer/ch_PP-OCRv3_det_infer.onnx \
--output_model ch_PP-OCRv3_det_infer/ch_PP-OCRv3_det_infer.onnx \
--input_shape_dict "{'x':[1,3,960,960]}"
至此执行完毕后,paddle模型转到onnx模型完毕,接下来是onnx模型转到rknn模型。
将转换完成的onnx放到个rknpu2_tools文件夹下

随后输入以下三条指令:
python3 export.py --config_path ppocrv3_det.yaml --target_platform rk3588
python3 export.py --config_path ppocrv3_rec.yaml --target_platform rk3588
python3 export.py --config_path ppocrv3_cls.yaml --target_platform rk3588
成功截图:
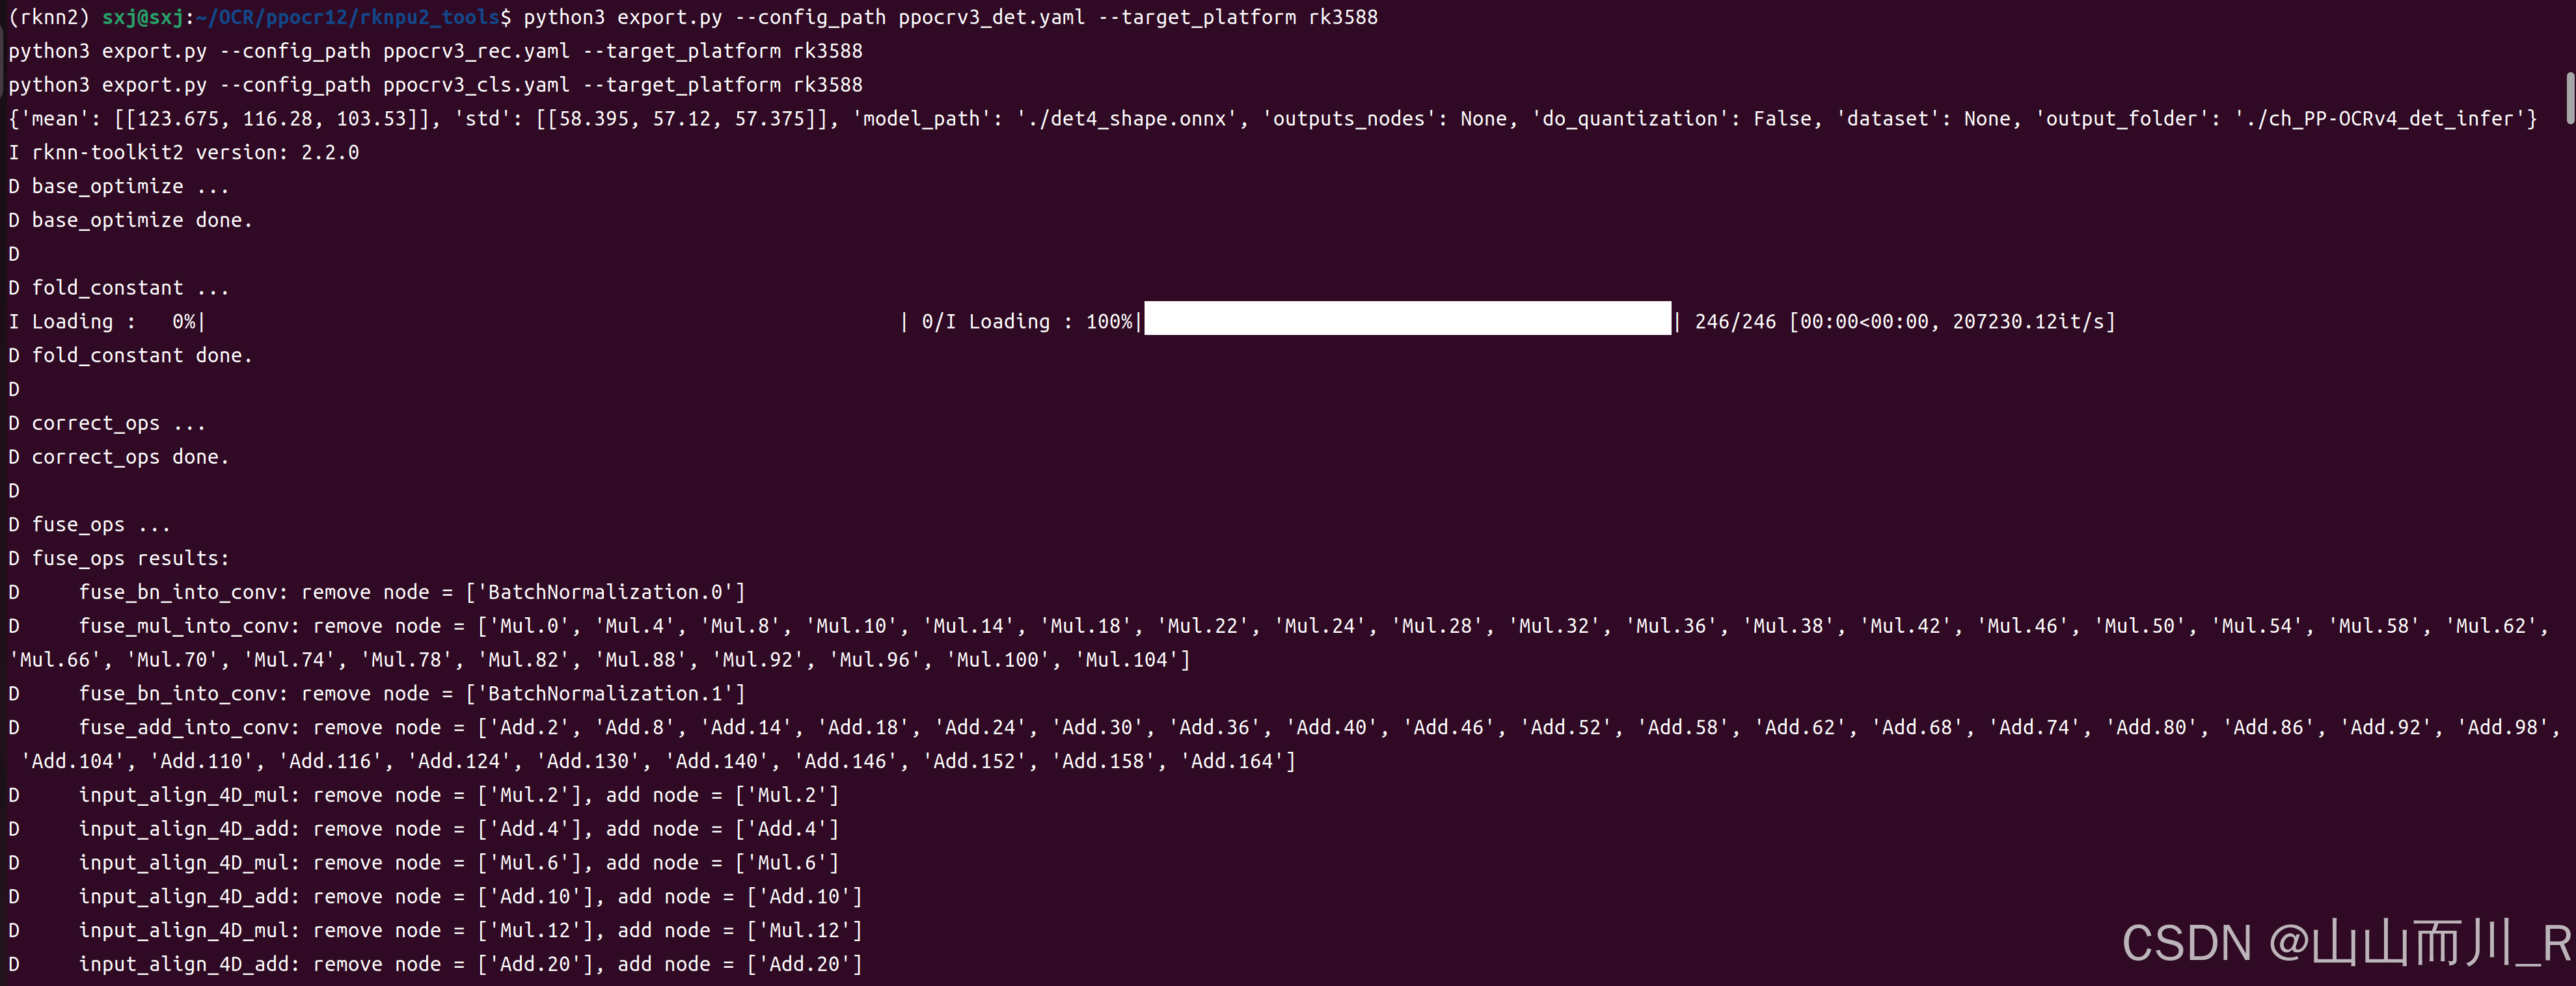
当三条指令结束运行时,终端内容:
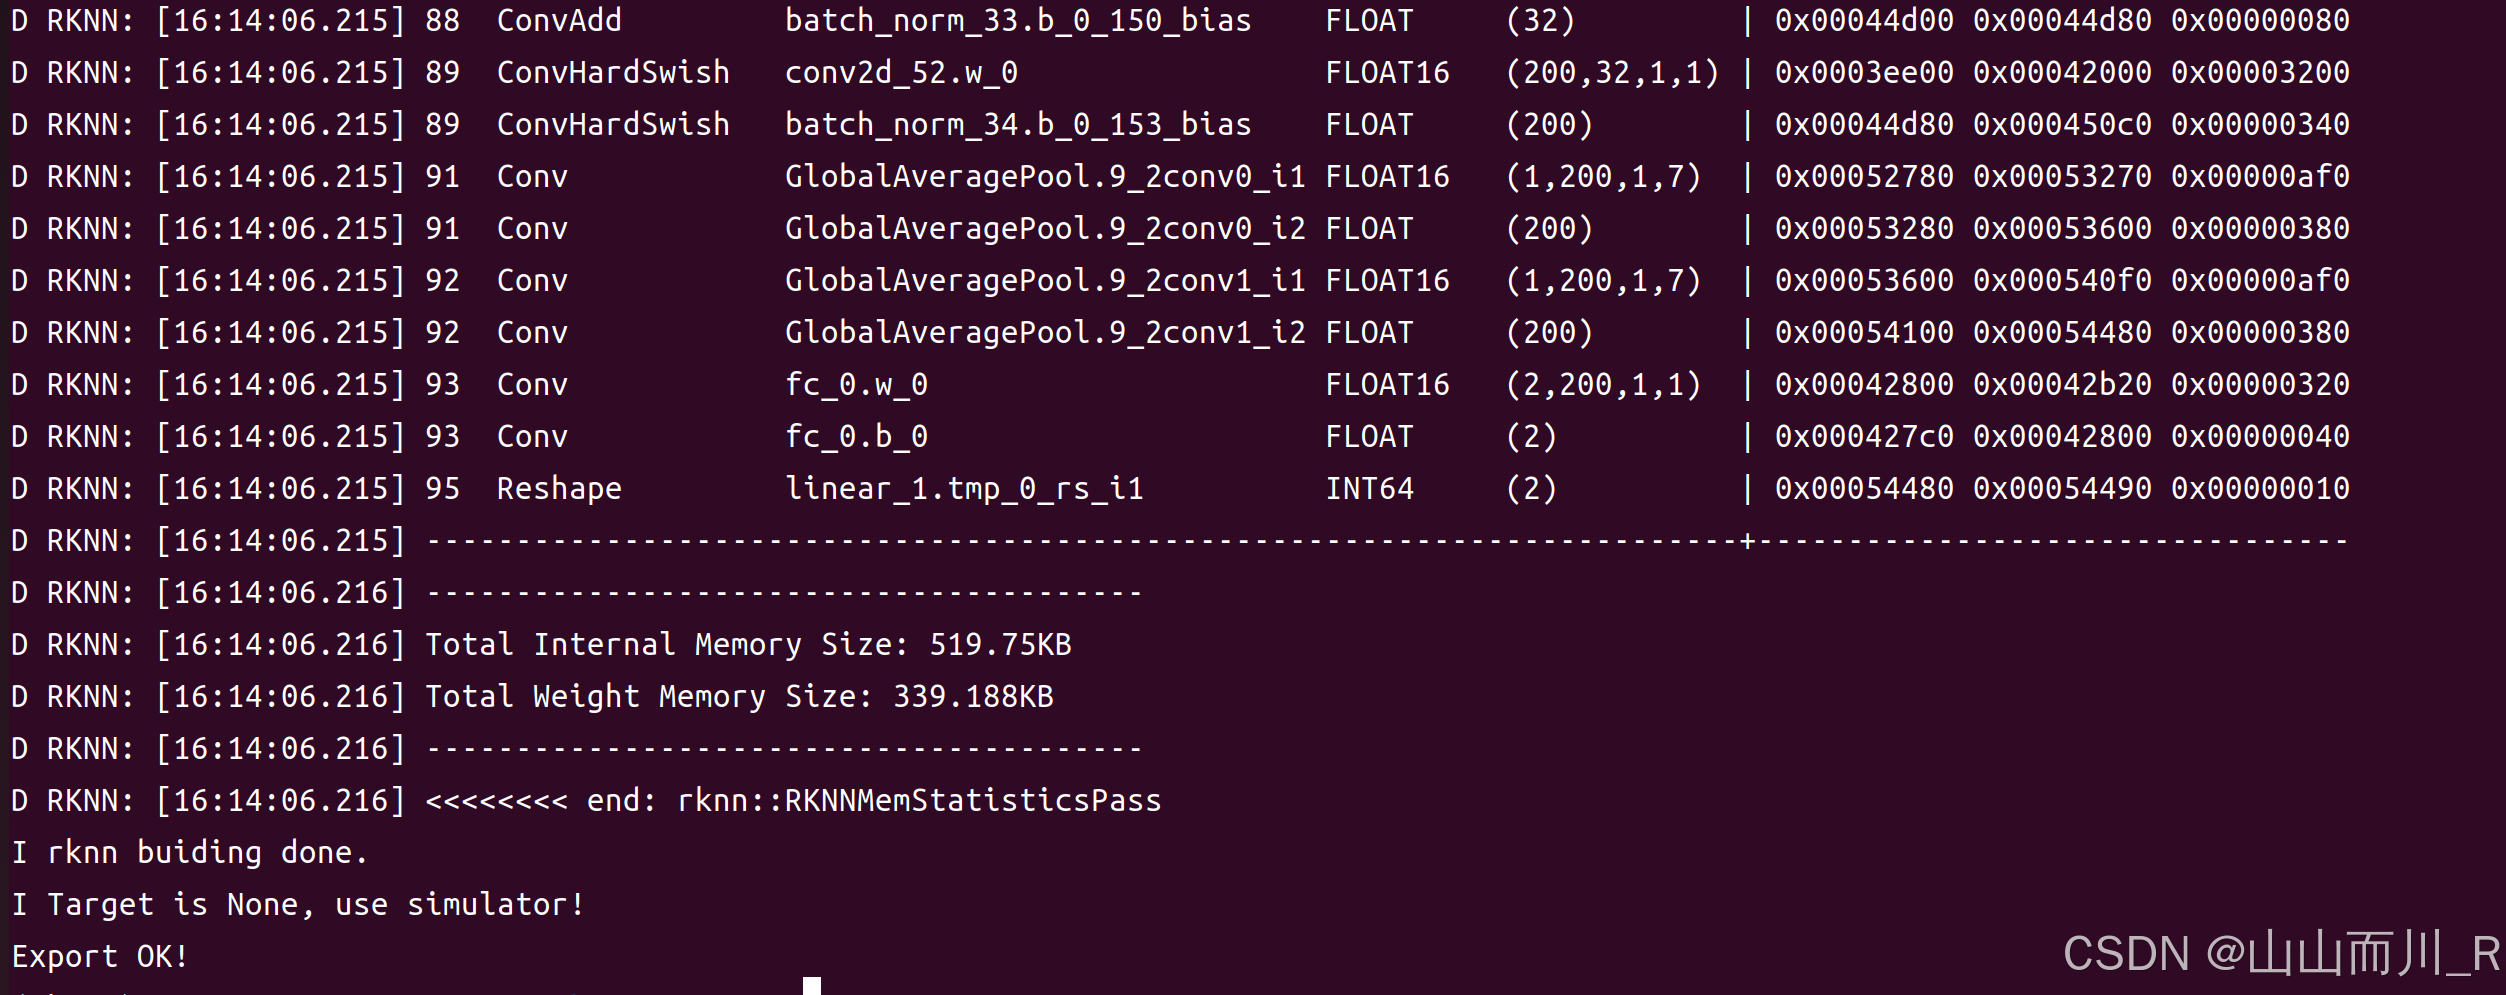 这时候在每个模型的解压文件夹下就得到了rknn模型
将这些文件拷贝到板子上:
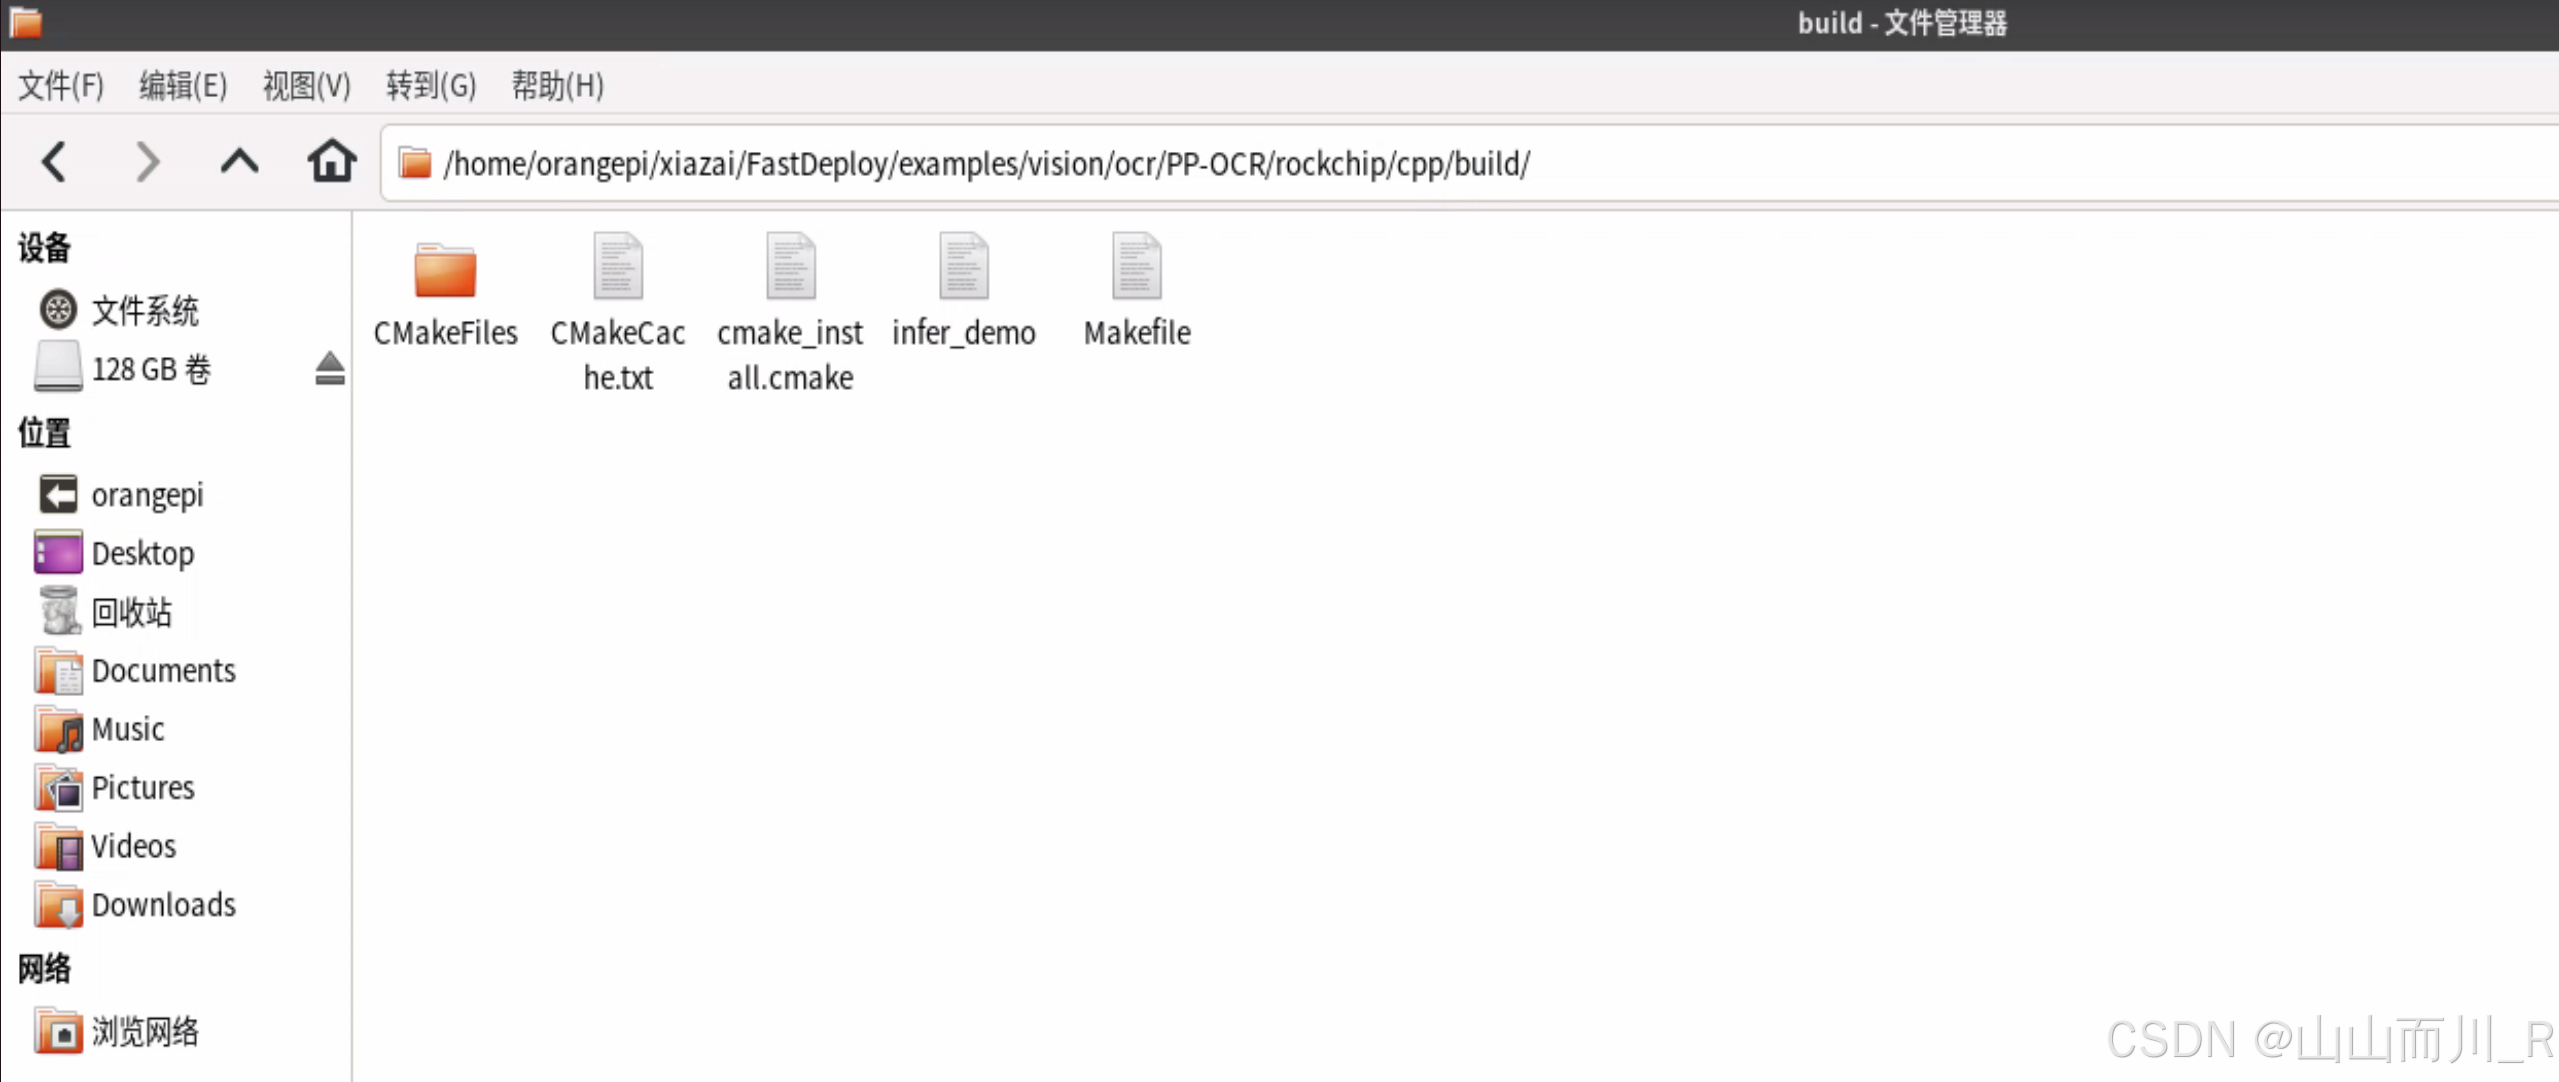
首先进入板子上刚刚编译完毕的FastDeploy文件夹下的
/FastDeploy/examples/vision/ocr/PP-OCR/rockchip/cpp
创建一个新的文件夹build
回到cpp文件夹下,打开CMakeLists.txt,对include部分进行修改。
PROJECT(infer_demo C CXX)
CMAKE_MINIMUM_REQUIRED (VERSION 3.10)

# 指定下载解压后的fastdeploy库路径
option(FASTDEPLOY_INSTALL_DIR "/home/orangepi/xiazai/FastDeploy/build/fastdeploy-0.0.0.")

include(/home/orangepi/xiazai/FastDeploy/build/fastdeploy-0.0.0/FastDeploy.cmake)

# 添加FastDeploy依赖头文件
include_directories(${FASTDEPLOY_INCS})

add_executable(infer_demo ${PROJECT_SOURCE_DIR}/infer.cc)
# 添加FastDeploy库依赖
target_link_libraries(infer_demo ${FASTDEPLOY_LIBS})
cd到刚刚创建的FastDeploy/examples/vision/ocr/PP-OCR/rockchip/cpp/build文件夹下,进行如下操作:
如果报错:
make -j
可以看到/home/orangepi/xiazai/FastDeploy/examples/vision/ocr/PP-OCR/rockchip/cpp/build/下多了一个infer_demo
我跑通的rknn库的版本2.2.0
这时候就把之前在Ubuntu上转的rknn模型拷贝到板子上,然后下载图片和字典文件
# 下载图片和字典文件
wget https://gitee.com/paddlepaddle/PaddleOCR/raw/release/2.6/doc/imgs/12.jpg
wget https://gitee.com/paddlepaddle/PaddleOCR/raw/release/2.6/ppocr/utils/ppocr_keys_v1.txt
这时候就可以运行程序了:
./infer_demo det4_shape_rk3588_unquantized.rknn cls2_shape_rk3588_unquantized.rknn rec4_shape_rk3588_unquantized.rknn ppocr_keys_v1.txt 12.jpg
报错:
./infer_demo: error while loading shared libraries: libopencv_video.so.3.4: cannot open shared object file: No such file or directory
NPU推理:
./infer_demo ./ch_PP-OCRv3_det_infer/ch_PP-OCRv3_det_infer_rk3588_unquantized.rknn \
                      ./ch_ppocr_mobile_v2.0_cls_infer/ch_ppocr_mobile_v20_cls_infer_rk3588_unquantized.rknn \
                             ./ch_PP-OCRv3_rec_infer/ch_PP-OCRv3_rec_infer_rk3588_unquantized.rknn \
                              ./ppocr_keys_v1.txt \
                              ./12.jpg \
                              1
或
./infer_demo \
 ./ch_PP-OCRv3_det_infer/ch_PP-OCRv3_det_infer_rk3588_unquantized.rknn \
 ./ch_ppocr_mobile_v2.0_cls_infer/ch_ppocr_mobile_v20_cls_infer_rk3588_unquantized.rknn \
 ./ch_PP-OCRv3_rec_infer/ch_PP-OCRv3_rec_infer_rk3588_unquantized.rknn \
 ./ppocr_keys_v1.txt \
 ./41.jpg
CPU推理
python3 infer.py \
--det_model ./ch_PP-OCRv3_det_infer/ch_PP-OCRv3_det_infer.onnx \
--cls_model ./ch_ppocr_mobile_v2.0_cls_infer/ch_ppocr_mobile_v2.0_cls_infer.onnx \
--rec_model ./ch_PP-OCRv3_rec_infer/ch_PP-OCRv3_rec_infer.onnx \
--rec_label_file ./ppocr_keys_v1.txt \
--image 12.jpg \
--device cpu